
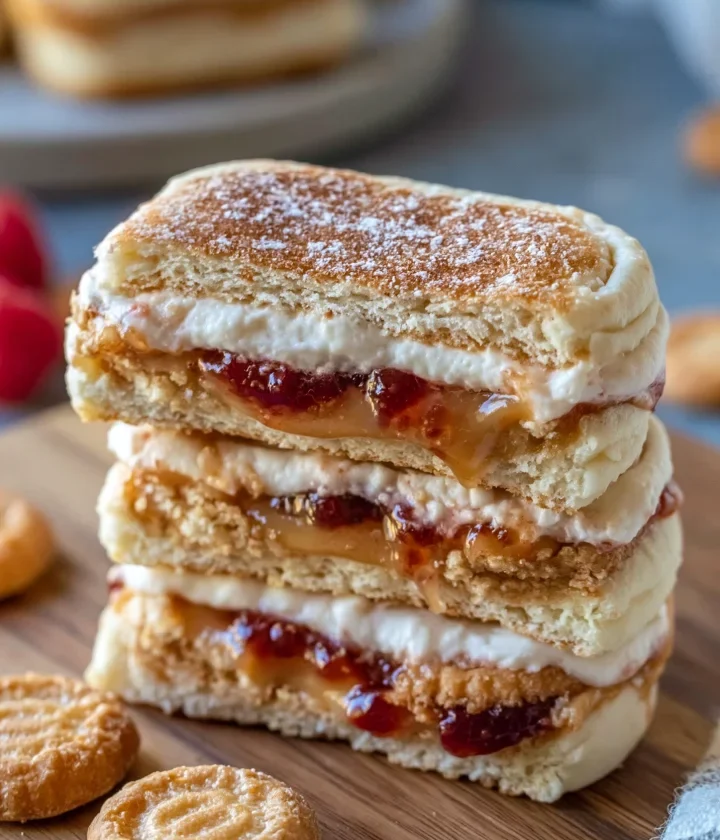
When it comes to quick and nutritious meals for kids, Easy Freezer Lunchbox Uncrustables are a game changer. These delightful, no-crust sandwiches are not only a nostalgic favorite, but they also offer endless possibilities for customization. Making your own uncrustables at home not only saves money but also gives you the freedom to choose high-quality ingredients, ensuring your children enjoy a healthy lunch that’s full of flavor. This means you can avoid preservatives and artificial additives commonly found in store-bought versions. For instance, you can experiment with different nut butters or fruit spreads. Whether for school lunches or quick snacks, this homemade uncrustables recipe will become a staple in your meal prep routine, making it easier to provide wholesome options on busy days.
Ingredients
- Bread:
- 8 slices of whole wheat or white bread (use gluten-free bread if needed to accommodate dietary restrictions; whole grain options also boost nutrition)
- Fillings:
- 1/2 cup peanut butter (or almond butter for nut-free option to cater to allergies; sunflower seed butter is another great alternative)
- 1/2 cup grape or strawberry jelly (or honey for a healthier alternative that adds natural sweetness; consider low-sugar jams for a lighter option)
- Optional Extras:
- 1 banana, sliced (for a fruity twist that adds natural flavor and nutrition; you can also use apples or pears for variety)
- 1/4 cup mini chocolate chips (for a sweet surprise that kids will love; use dark chocolate chips for a healthier choice)
Choose high-quality, natural spreads without added sugars or preservatives for a healthier option. Look for brands that prioritize organic ingredients if possible, as this can enhance the overall taste and nutritional value of your sandwiches. You can also use flavored cream cheese or hummus as alternative fillings, depending on your child’s preferences, allowing for a variety of flavors that can make lunchtime exciting. Don’t hesitate to mix and match fillings to create different flavor combinations that your kids will look forward to.
Steps / Instructions
- Lay out your 8 slices of bread on a clean work surface. You can use a rolling pin to flatten each slice slightly, making it easier to seal the edges later. This also helps create a more uniform texture and makes spreading the fillings more efficient.
- Spread about 2 tablespoons of peanut butter evenly on half of the slices, leaving a small border around the edges. Ensure an even layer for consistent flavor in every bite; you might even want to use a spatula for a smoother application.
- Spread 2 tablespoons of jelly on the remaining slices, or add additional fillings like sliced bananas or chocolate chips on top of the jelly layer for extra flavor. This layering adds not only taste but texture, contributing to an enjoyable eating experience.
- Carefully place a slice of bread with peanut butter on top of a slice with jelly, aligning the edges. Apply gentle pressure to help the fillings bond while ensuring that they are well-centered to prevent spills.
- Using a round cookie cutter or a glass, cut out the sandwiches into circles. Make sure to press down firmly to seal the edges, creating a perfect, fun shape that kids will enjoy. You can even use themed cookie cutters for special occasions!
- Use your fingers to crimp the edges of each sandwich to ensure they are sealed tightly and no filling leaks out. This step is crucial for maintaining freshness during freezing and helps keep the sandwiches intact.
- Place the assembled uncrustables on a baking sheet lined with parchment paper and freeze them for about 1-2 hours until firm. This ensures they hold their shape during storage, making it easier to pack them later.
- Once frozen, transfer the sandwiches to a labeled freezer-safe bag or container to store. They can be kept in the freezer for up to 2 months, making meal prep a breeze and providing you with ready-to-go lunches whenever you need them.
Tips & Tricks
To make your Easy Freezer Lunchbox Uncrustables even easier to prepare, consider these tips: Check out our related guide for more tips that can enhance your meal prep experience and help you save time in the kitchen.
- Make a large batch on the weekend, so you have a variety of sandwiches ready for the week ahead. This is perfect for meal prep for kids, making mornings less hectic and ensuring your kids have nutritious options available.
- Use a vacuum sealer or remove as much air as possible from the bag to prevent freezer burn, which can affect the taste and texture of the sandwiches. Proper sealing extends their shelf life.
- To avoid soggy bread, consider freezing them without the jelly, then adding freshly made jelly when ready to eat. This keeps the bread fresh and the fillings vibrant, ensuring maximum flavor.
- Let the sandwiches thaw in the lunchbox or refrigerator the night before for a ready-to-go meal that’s perfect for busy school mornings. They will be perfectly soft and delicious by lunchtime!
Conclusion
Homemade Easy Freezer Lunchbox Uncrustables are a delicious and practical solution for busy days. With endless filling options, these sandwiches can easily be tailored to suit your family’s tastes while promoting healthier eating habits. The ability to customize allows you to introduce new flavors and ingredients that keep your kids interested in their meals. Whether your kids prefer classic peanut butter and jelly or something more adventurous, this recipe is sure to become a go-to in your lunchbox rotation, creating enjoyable and nutritious meals with ease. Don’t be surprised if these uncrustables become a family favorite!
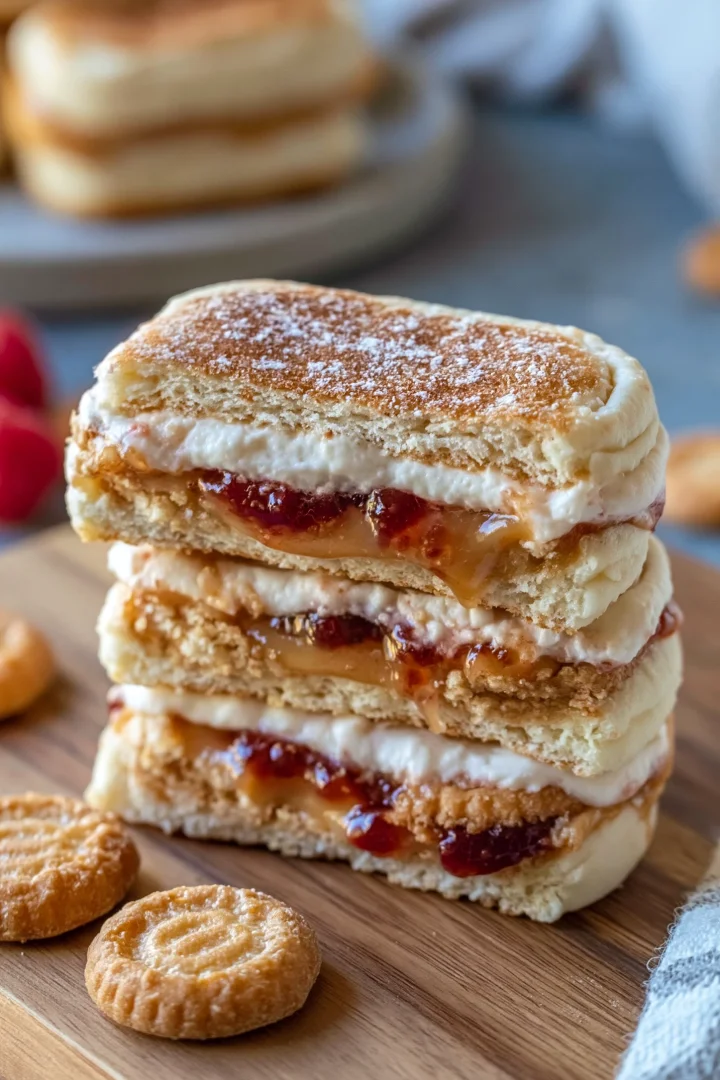
Easy Freezer Lunchbox Uncrustables
Homemade Easy Freezer Lunchbox Uncrustables are a delicious and practical solution for busy days. With endless filling options, these sandwiches can easily be tailored to suit your family’s tastes while promoting healthier eating habits.
Ingredients
- 8 slices of whole wheat or white bread (use gluten-free bread if needed to accommodate dietary restrictions; whole grain options also boost nutrition)
- 1/2 cup peanut butter (or almond butter for nut-free option to cater to allergies; sunflower seed butter is another great alternative)
- 1/2 cup grape or strawberry jelly (or honey for a healthier alternative that adds natural sweetness; consider low-sugar jams for a lighter option)
- 1 banana, sliced (for a fruity twist that adds natural flavor and nutrition; you can also use apples or pears for variety)
- 1/4 cup mini chocolate chips (for a sweet surprise that kids will love; use dark chocolate chips for a healthier choice)
Directions
Lay out your 8 slices of bread on a clean work surface.
Spread about 2 tablespoons of peanut butter evenly on half of the slices.
Spread 2 tablespoons of jelly on the remaining slices, or add additional fillings like sliced bananas or chocolate chips on top.
Carefully place a slice of bread with peanut butter on top of a slice with jelly.
Using a round cookie cutter or a glass, cut out the sandwiches into circles.
Use your fingers to crimp the edges of each sandwich.
Place the assembled uncrustables on a baking sheet lined with parchment paper and freeze them for about 1-2 hours until firm.
Once frozen, transfer the sandwiches to a labeled freezer-safe bag or container.
Recipe Reviews
- ★★★★★
Excellent recipe!
Leave a Reply
Your email address will not be published. Required fields are marked *






Excellent recipe!