
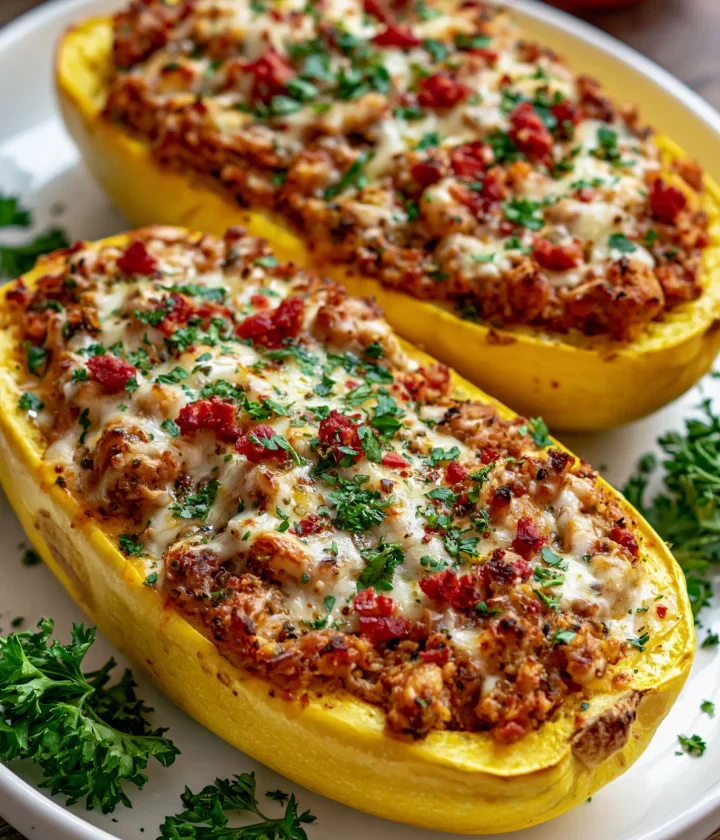
Summer brings an abundance of fresh vegetables, and one of the standout stars of the season is the yellow squash. This Baked Stuffed Yellow Squash Boats recipe elevates the humble squash into a delightful dish that’s perfect for any meal. Whether you serve it as a main or a side, these savory squash boats are packed with flavor and nutrition, making them a favorite among health-conscious eaters and families alike. Stuffed with a combination of grains, vegetables, and spices, they embody the essence of plant-based cooking while offering a delightful bite that’s both hearty and wholesome. The vibrant colors and rich textures create an appealing dish that can brighten any table setting, making your meal not just nourishing but also visually stunning.
Ingredients
- For the Squash Boats:
- 4 medium yellow squashes, ideally about 6 to 8 inches long for the best stuffing capacity
- 1 tablespoon olive oil, preferably extra virgin for its rich flavor
- Salt and pepper, to taste, enhances the overall flavor profile of the dish
- For the Filling:
- 1 cup cooked quinoa (or rice for a different texture); quinoa provides a nutty flavor and is packed with protein
- 1 cup diced bell peppers (any color); using a mix of colors not only adds sweetness but also visual appeal
- 1 cup diced tomatoes (fresh or canned); if using canned, opt for those without added sugars for a healthier option
- 1/2 cup chopped onions; yellow or red onions work well for a sweeter taste
- 2 cloves garlic, minced; fresh garlic infuses the filling with aromatic depth
- 1 teaspoon Italian seasoning; this blend of herbs enhances the Mediterranean flavor
- 1/2 teaspoon paprika; adds a mild smokiness to the dish
- 1/2 cup shredded mozzarella cheese (or vegan cheese for a dairy-free option); cheese adds creaminess and binds the filling together
- For Topping:
- 1/4 cup breadcrumbs (gluten-free if necessary); panko breadcrumbs can be used for extra crunch
- 1 tablespoon chopped fresh parsley (for garnish); fresh herbs bring brightness and color to the final dish
Steps / Instructions
- Preheat your oven to 375°F (190°C). This ensures that your stuffed squash cooks evenly from the start.
- Wash the yellow squashes thoroughly under running water. Slice them in half lengthwise and scoop out the seeds with a spoon to create boats. Make sure to leave about 1/4 inch of flesh around the edges to prevent the boats from collapsing. Set the squash halves aside on a baking sheet.
- In a skillet, heat the olive oil over medium heat. Add the chopped onions and garlic, sautéing until soft and translucent (about 3-4 minutes). Stir frequently to avoid burning the garlic, as it can become bitter if overcooked.
- Stir in the diced bell peppers and tomatoes, cooking for an additional 3-4 minutes until the vegetables start to soften. You want them tender but still retaining some texture.
- Add the cooked quinoa, Italian seasoning, and paprika to the skillet. Mix well and cook for 2-3 minutes, allowing the flavors to blend cohesively. Season the mixture with salt and pepper to taste, adjusting to your preference.
- Remove the skillet from heat and stir in half of the shredded mozzarella cheese until melted and well incorporated into the filling.
- Stuff each yellow squash half with the quinoa mixture, pressing down gently to pack it in tightly. This will ensure each bite is flavorful and satisfying.
- Sprinkle the tops with the remaining mozzarella cheese and breadcrumbs for a crispy finish. The cheese will melt and bubble, creating a deliciously golden crust.
- Place the stuffed squash on a baking sheet lined with parchment paper. Bake in the preheated oven for 25-30 minutes, or until the squash is tender and the tops are golden brown. You can test for doneness by inserting a fork into the squash; it should be easily pierced.
- Once baked, remove from the oven and let cool for a few minutes. Garnish with chopped fresh parsley before serving, adding a touch of freshness and color to the dish.
Tips & Tricks
To ensure the best results with your stuffed yellow squash recipe, consider the following: You can learn more about this topic.
- Choosing Squash: Select firm squashes that feel heavy for their size. Look for ones without blemishes or soft spots, as these can affect the texture and taste.
- Storing Leftovers: Store any leftover stuffed squash in an airtight container in the refrigerator for up to 3 days. Reheat in the oven or microwave until warmed through, ensuring the squash retains its original texture.
- Make-Ahead Option: You can prepare the filling ahead of time and stuff the squash just before baking, making it an ideal option for quick weeknight dinners. Alternatively, you can freeze the stuffed squashes before baking; just add a few extra minutes to the cooking time if baking from frozen.
- Experiment with Fillings: Feel free to customize the filling with other vegetables or proteins like ground turkey or beans for added nutrition. Consider adding spices like cumin or chili powder for a different flavor profile, or even a dollop of salsa for a Mexican twist.
Conclusion
These Baked Stuffed Yellow Squash Boats are a delicious way to enjoy summer’s bounty. Not only do they make a vibrant centerpiece on your table, but they also provide a nutritious and satisfying option for family-friendly meals. Enjoy this delightful dish as a healthy addition to your next gathering or as a quick weeknight dinner. Don’t forget to share your experience and any variations you try! Check out our related guide for more tips.
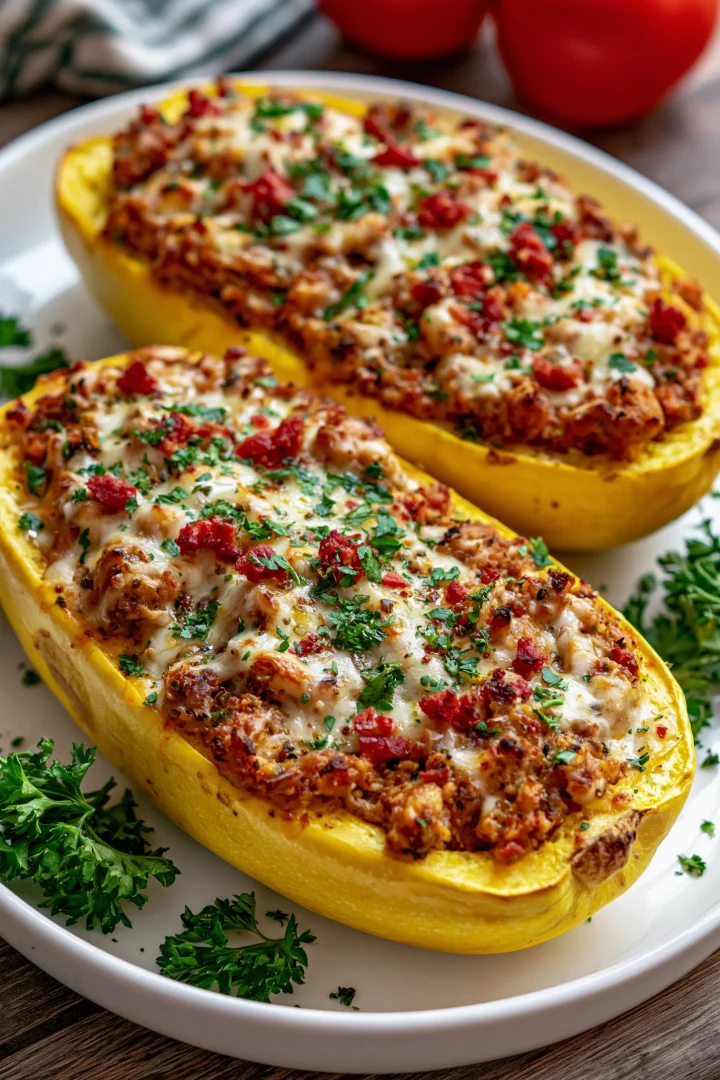
Baked St■ Yellow Squash Boats
This Baked St■ Yellow Squash Boats recipe elevates the humble squash into a delightful dish that’s perfect for any meal. St■ with a combination of grains, vegetables, and spices, they embody the essence of plant-based cooking while offering a delightful bite that’s both hearty and wholesome.
Ingredients
- 4 medium yellow squashes, ideally about 6 to 8 inches long for the best stuffing capacity
- 1 tablespoon olive oil, preferably extra virgin for its rich flavor
- Salt and pepper, to taste
- 1 cup cooked quinoa (or rice for a different texture)
- 1 cup diced bell peppers (any color)
- 1 cup diced tomatoes (fresh or canned)
- 1/2 cup chopped onions
- 2 cloves garlic, minced
- 1 teaspoon Italian seasoning
- 1/2 teaspoon paprika
- 1/2 cup shredded mozzarella cheese (or vegan cheese for a dairy-free option)
- 1/4 cup breadcrumbs (gluten-free if necessary)
- 1 tablespoon chopped fresh parsley (for garnish)
Directions
Preheat your oven to 375°F (190°C).
Wash the yellow squashes thoroughly under running water. Slice them in half lengthwise and scoop out the seeds with a spoon to create boats.
In a skillet, heat the olive oil over medium heat. Add the chopped onions and garlic, sautéing until soft and translucent (about 3-4 minutes).
Stir in the diced bell peppers and tomatoes, cooking for an additional 3-4 minutes until the vegetables start to soften.
Add the cooked quinoa, Italian seasoning, and paprika to the skillet. Mix well and cook for 2-3 minutes.
Remove the skillet from heat and stir in half of the shredded mozzarella cheese until melted and well incorporated into the filling.
Stuff each yellow squash half with the quinoa mixture, pressing down gently to pack it in tightly.
Sprinkle the tops with the remaining mozzarella cheese and breadcrumbs.
Place the st■ squash on a baking sheet lined with parchment paper. Bake in the preheated oven for 25-30 minutes, or until the squash is tender and the tops are golden brown.
Once baked, remove from the oven and let cool for a few minutes. Garnish with chopped fresh parsley before serving.
Recipe Reviews
- ★★★★★
Excellent recipe!
Leave a Reply
Your email address will not be published. Required fields are marked *


Excellent recipe!