Introduction
Are you a fan of the crispy, cheesy goodness of Cheez-Its? What if I told you that you could recreate that addictive flavor right in your own kitchen? Homemade Cheez Its are not only a fun and delicious snack to make, but they also offer a personalized touch that you can’t find in store-bought versions. In this article, we will explore the step-by-step process of making your very own batch of these savory treats.
There’s something truly special about crafting your own snacks from scratch. The aroma that fills your kitchen, the satisfaction of seeing the final product, and the joy of sharing your homemade creations with friends and family all contribute to the magic of cooking at home. Homemade Cheez-Its are a perfect example of how a few simple ingredients can come together to create something extraordinary.
While store-bought Cheez-Its have their place, making them from scratch allows you to control the quality of ingredients, experiment with flavors, and tailor the recipe to your preferences. Whether you’re a seasoned home cook or a kitchen novice, this recipe is sure to delight your taste buds and impress your loved ones.
Join me on this culinary adventure as we dive into the world of homemade Cheez-Its, where cheesy goodness meets the perfect crunch!
Why You’ll Love This Recipe
If you’re a fan of Cheez-Its, you’ll love the fact that you can now customize the flavor and texture to suit your taste buds perfectly. Homemade Cheez-Its offer a fresher, more intense cheesy flavor compared to their commercial counterparts. Additionally, by making them at home, you can ensure that they are free from any unwanted additives or preservatives.
One of the best features of this recipe is its simplicity. With just a handful of common ingredients and a few easy steps, you can create a batch of Cheez-Its that rivals the ones you find in the snack aisle. Whether you’re looking for a quick snack to satisfy your cravings or a fun project to do with your kids, this recipe has you covered.
Moreover, these homemade Cheez-Its can be tailored to meet specific dietary requirements. You can easily adjust the level of salt, use whole wheat flour for a healthier twist, or even experiment with different cheeses to create unique flavor combinations. The versatility of this recipe makes it a must-try for anyone who enjoys a good snack.
Get ready to experience the joy of baking your own Cheez-Its and discover a whole new world of flavor possibilities right in your kitchen!
Ingredients
For this homemade Cheez-Its recipe, you will need the following ingredients:
– 2 cups of sharp cheddar cheese, shredded
– 4 tablespoons of unsalted butter, softened
– 1 teaspoon of salt
– 1 cup of all-purpose flour
– 2-3 tablespoons of cold water
Feel free to experiment with different types of cheese or add a dash of paprika or cayenne pepper for a spicier kick. You can also use whole wheat flour for a nuttier flavor or gluten-free flour for a wheat-free version.
Step-by-Step Instructions
1. In a food processor, combine the shredded cheddar cheese, softened butter, salt, and all-purpose flour. Pulse the mixture until it resembles coarse crumbs.
2. Slowly add the cold water, one tablespoon at a time, until the dough comes together and forms a ball.
3. Wrap the dough in plastic wrap and refrigerate it for at least 30 minutes to allow it to firm up.
4. Preheat your oven to 375°F (190°C) and line a baking sheet with parchment paper.
5. Roll out the chilled dough on a floured surface to about 1/8-inch thickness. Use a sharp knife or a pizza cutter to cut the dough into small squares or your desired shapes.
6. Place the cut-out dough pieces on the prepared baking sheet and bake them for 12-15 minutes or until they are golden brown and crispy.
7. Remove the Cheez-Its from the oven and let them cool before enjoying the crunchy, cheesy goodness!

Expert Tips for Success
To achieve the perfect texture for your homemade Cheez-Its, make sure to use cold water when combining the dough. This helps prevent the butter from melting too quickly and ensures a flaky, crispy result.
If you prefer a more pronounced cheese flavor, you can add a sprinkle of extra shredded cheddar on top of the dough squares before baking. This will create a deliciously cheesy crust that will take your Cheez-Its to the next level.
For a fun twist, try cutting the dough into different shapes using cookie cutters. Hearts, stars, or even animal shapes can add a playful touch to your homemade Cheez-Its and make them perfect for special occasions or themed parties.
Store any leftover Cheez-Its in an airtight container to maintain their crispiness. If they start to lose their crunch, simply pop them back in a preheated oven for a few minutes to revive their texture.
Variations and Substitutions
If you’re looking to switch things up, here are some creative variations and substitutions you can try with this recipe:
– Experiment with different types of cheese, such as Gouda, Parmesan, or Pepper Jack, to create unique flavor profiles.
– Add a sprinkle of garlic powder, onion powder, or dried herbs like thyme or rosemary to infuse additional flavors into the Cheez-Its.
– For a healthier option, use whole wheat flour or almond flour in place of all-purpose flour. You can also reduce the amount of butter for a lighter version.
– If you’re a fan of spicy snacks, mix in some finely chopped jalapeños or a pinch of cayenne pepper to add a fiery kick to your Cheez-Its.
Serving Suggestions
Homemade Cheez-Its are perfect for snacking on their own, but you can also get creative with how you serve them:
– Pair them with a creamy dip, such as ranch dressing, hummus, or a spicy salsa, for a delicious flavor contrast.
– Crumble homemade Cheez-Its over soups or salads to add a crunchy texture and a burst of cheesy flavor to your favorite dishes.
– Serve them alongside a charcuterie board with cured meats, olives, and fresh fruits for a sophisticated snack spread that will impress your guests.
– Package them in decorative bags or jars tied with ribbons to give as homemade gifts during the holiday season or special occasions.
FAQs
Q: Can I make the dough ahead of time and bake the Cheez-Its later?
A: Yes, you can prepare the dough in advance and store it in the refrigerator for up to 2 days. When you’re ready to bake, simply roll out the dough, cut it into pieces, and bake as directed.
Q: How long will homemade Cheez-Its stay fresh?
A: When stored in an airtight container at room temperature, homemade Cheez-Its will stay fresh for up to a week. For longer storage, you can freeze them and reheat in the oven before serving.
Q: Can I make a larger batch of Cheez-Its for a party?
A: Absolutely! Simply double or triple the ingredients to make a larger batch of Cheez-Its. Just be sure to adjust the baking time accordingly and keep an eye on them as they bake.
Final Thoughts
Homemade Cheez-Its are not just a snack; they’re a culinary experience that brings joy to both the maker and the eater. The process of creating these crispy, cheesy delights from scratch is a rewarding journey that culminates in a delicious reward that can be shared with loved ones.
So, roll up your sleeves, gather your ingredients, and embark on the adventure of making your very own batch of homemade Cheez-Its. Whether you enjoy them as a solo snack, a party appetizer, or a thoughtful gift, these cheesy bites are sure to bring a smile to your face and a crunch to your taste buds. Give this recipe a try and savor the magic of homemade goodness!

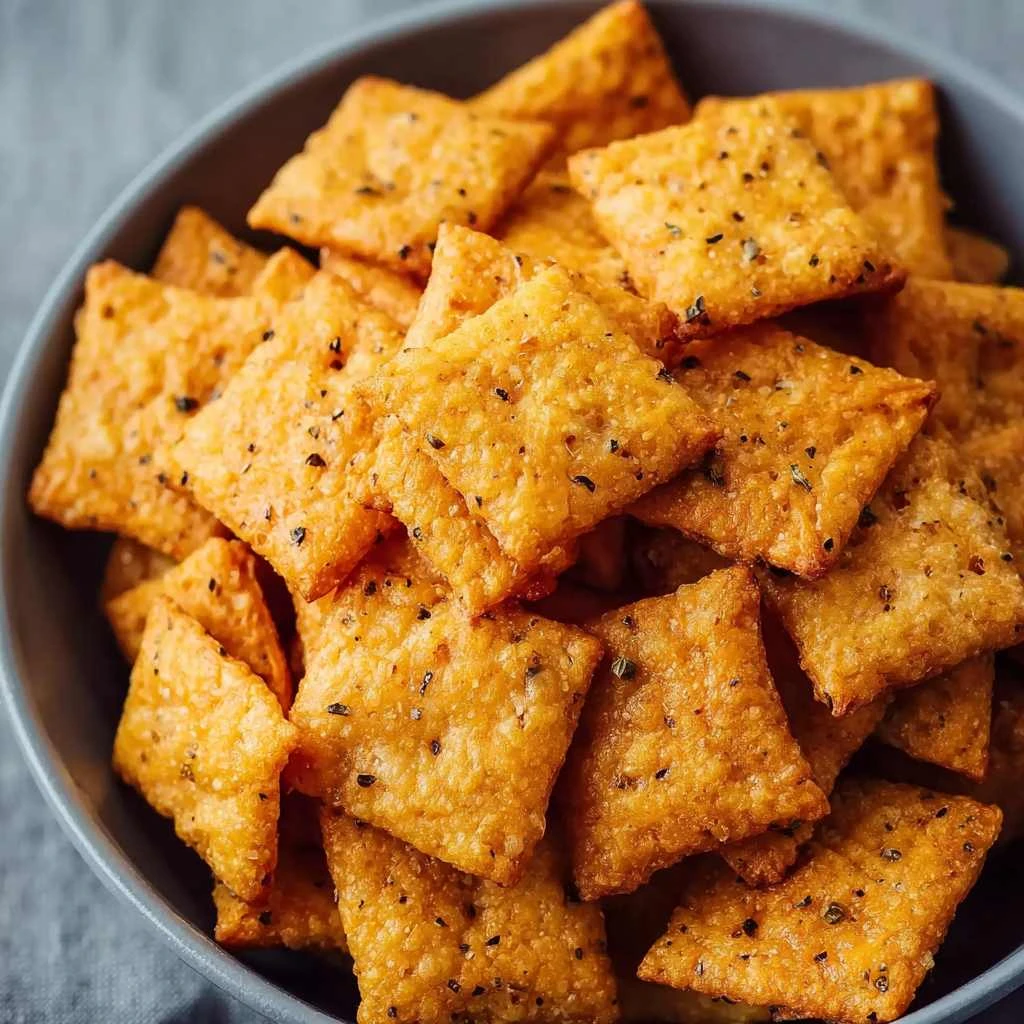
Homemade Cheez Its
Enjoy the addictive crispy, cheesy goodness of homemade Cheez-Its with this fun and delicious snack recipe that offers a personalized touch and the satisfaction of homemade goodness.
Ingredients
- 2 cups sharp cheddar cheese, shredded
- 4 tablespoons unsalted butter, softened
- 1 teaspoon salt
- 1 cup all-purpose flour
- 2-3 tablespoons cold water
Directions
-
In a food processor, combine the shredded cheddar cheese, softened butter, salt, and all-purpose flour. Pulse until it resembles coarse crumbs.
-
Slowly add cold water, one tablespoon at a time, until the dough forms a ball.
-
Wrap the dough in plastic wrap and refrigerate for at least 30 minutes.
-
Preheat oven to 375°F (190°C) and line a baking sheet with parchment paper.
-
Roll out the chilled dough on a floured surface, cut into small squares, and place on the baking sheet.
-
Bake for 12-15 minutes until golden brown and crispy.
-
Let the Cheez-Its cool before enjoying the crunchy, cheesy goodness!