
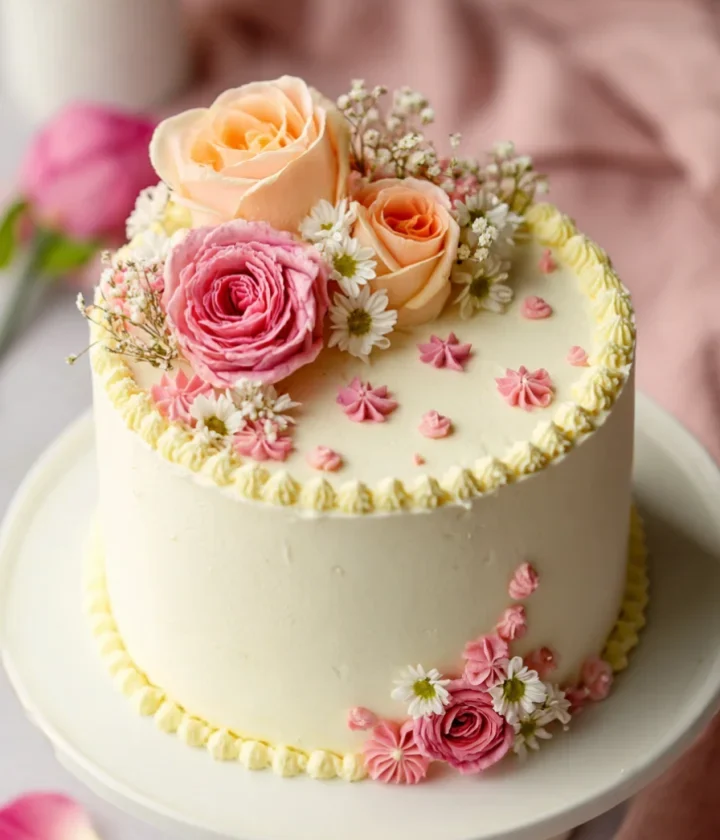
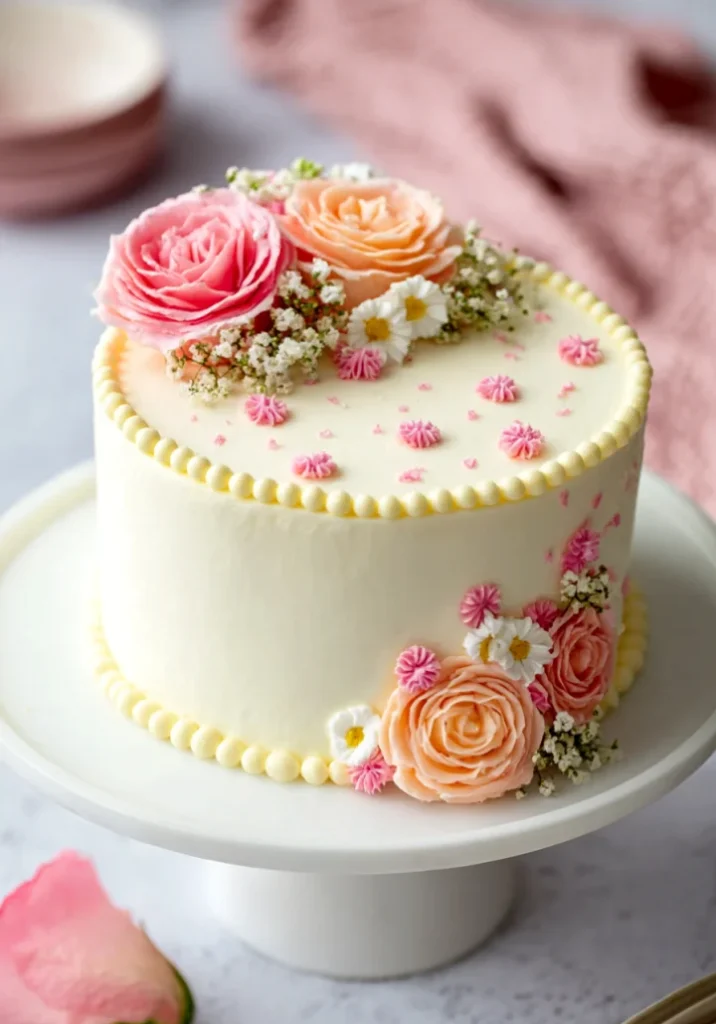
Anniversaries are special milestones that deserve a celebration, and what better way to commemorate your love than with a stunning bento cake design? Bento cakes, with their compact size and beautiful presentation, are perfect for intimate celebrations, allowing for creativity and personalization. Originating from Japan, these mini cakes can be tailored to suit any occasion, making them a unique choice for anniversaries. Their versatile nature, combined with a myriad of design options, brings an exciting touch to your celebration. Whether you’re looking for elegant floral designs or playful themes, a bento cake can be a flavorful and artistic centerpiece for your anniversary party. Impress your guests and loved ones with your baking skills while creating cherished memories around a delightful dessert that resonates with your personal story.
Table of Contents
Ingredients
For the Cake
- 2 cups all-purpose flour
- 1 cup granulated sugar
- 1 teaspoon baking powder
- 1/2 teaspoon baking soda
- 1/2 teaspoon salt
- 1 cup unsalted butter, softened
- 4 large eggs
- 1 teaspoon vanilla extract
- 1/2 cup milk
For the Frosting
- 1 cup unsalted butter, softened
- 4 cups powdered sugar
- 1/4 cup heavy cream
- 1 teaspoon vanilla extract
- Food coloring (optional, for customization)
For Decorations
- Edible glitter
- Fresh flowers or fruit
- Chocolate shavings
- Custom cake toppers (names, dates, etc.)
Note: For a gluten-free option, substitute the all-purpose flour with a gluten-free blend. Ensure that all other ingredients are gluten-free as well. You can learn more about this topic. Additionally, selecting organic or high-quality ingredients can elevate the flavor and overall experience of your bento cake design, making it even more special. Opting for fresh, seasonal fruits as decorations not only enhances the aesthetic appeal but also adds a burst of natural flavors to your cake.
Steps / Instructions
- Preheat your oven: Set your oven to 350°F (175°C). Grease and flour your bento cake pans or line them with parchment paper to prevent sticking and ensure easy removal. This crucial step sets the foundation for your cake’s texture and ease of serving.
- Mix dry ingredients: In a large mixing bowl, sift together the flour, baking powder, baking soda, and salt. This step helps to aerate the flour, ensuring a light and fluffy cake. Set aside while preparing the wet ingredients, allowing the baking powder to activate slightly.
- Cream butter and sugar: In another bowl, beat the softened butter and granulated sugar together until light and fluffy, about 3-4 minutes. This process is crucial as it incorporates air into the mixture, which aids in creating a soft cake texture. The mixture should appear pale and creamy when ready.
- Add eggs: Incorporate the eggs one at a time, mixing well after each addition to ensure they are fully integrated. Stir in the vanilla extract to enhance the flavor profile, creating a rich and aromatic batter.
- Combine wet and dry: Gradually add the dry ingredients to the butter mixture, alternating with the milk. Mix until just combined; do not overmix, as this can lead to a dense cake. The batter should be smooth and slightly thick, indicating it is ready for baking.
- Bake: Pour the batter evenly into the prepared pans and bake for 25-30 minutes, or until a toothpick inserted in the center comes out clean. The cakes should be slightly golden on top and spring back when lightly pressed, indicating they are perfectly baked.
- Cool: Once baked, let the cakes cool in the pans for 10 minutes, then transfer to a wire rack to cool completely. This step is vital to ensure that the cakes maintain their structure and do not become soggy, which can affect the frosting later.
- Prepare the frosting: In a mixing bowl, beat the softened butter until creamy. Gradually add the powdered sugar, then mix in the heavy cream and vanilla extract. Beat until light and fluffy, achieving a spreadable consistency that holds its shape for decorating, which is essential for your bento cake design.
- Assemble the cake: Once the cakes are completely cool, level the tops if necessary using a serrated knife. Place one layer on a serving platter and spread an even layer of frosting on top. Add the second layer and frost the top and sides of the cake to create a smooth finish, ensuring it looks inviting and professional.
- Decorate: Use your choice of decorations, such as edible glitter, fresh flowers, or custom cake toppers, to personalize your cake. Consider your bento cake design theme and incorporate elements that reflect your celebration, making it truly unique to your special occasion.
Tips & Tricks
To ensure your bento cake turns out perfectly, consider these expert tips: Check out our related guide for more tips. These suggestions can help you master the art of bento cake design and take your creations to the next level for unforgettable celebrations.
- Storage: Store the cake in an airtight container at room temperature for up to three days. For longer storage, refrigerate it for up to a week, ensuring it remains fresh and moist. Consider wrapping it in plastic wrap to prevent it from drying out.
- Make-ahead option: You can bake the cake layers a day in advance. Wrap them in plastic wrap and refrigerate until you’re ready to frost and decorate. This can save you time on the day of your celebration, making it easier to manage your schedule.
- Avoid common mistakes: Ensure all ingredients are at room temperature before mixing. This helps create a smoother batter and a more even bake. Also, avoid opening the oven door frequently while baking, as this can cause the cakes to collapse, impacting your bento cake design.
- Use quality ingredients: The flavor will greatly depend on the quality of your butter and vanilla extract, so choose high-quality brands. This attention to detail will significantly enhance the taste of your bento cake design, making it a memorable treat.
Conclusion
Now that you have a comprehensive guide to creating a beautiful bento cake design for your anniversary, it’s time to get baking! Personalize your cake with flavors and decorations that reflect your unique relationship. Enjoy the process and celebrate your love with this delightful dessert, making your anniversary even more memorable. Your bento cake design will not only create a stunning visual impact but also serve as a delicious centerpiece for your celebration.
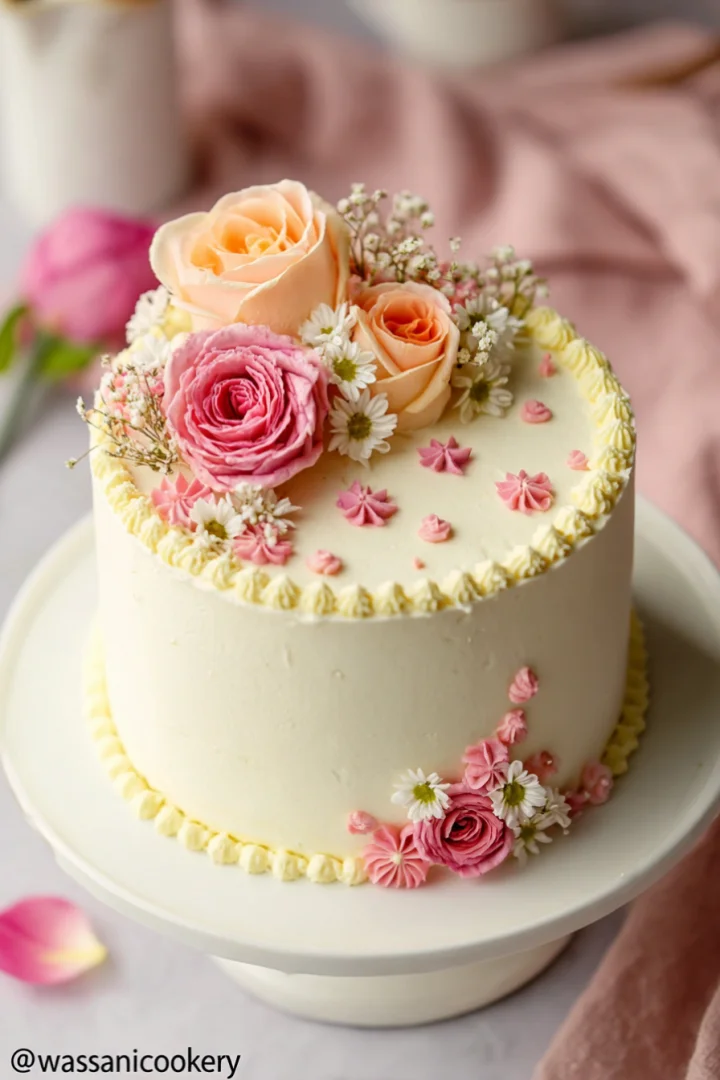
Bento Cake Design for Anniversary
Create a stunning bento cake design to celebrate your anniversary with a personal touch.
Ingredients
- 2 cups all-purpose flour
- 1 cup granulated sugar
- 1 teaspoon baking powder
- 1/2 teaspoon baking soda
- 1/2 teaspoon salt
- 1 cup unsalted butter, softened
- 4 large eggs
- 1 teaspoon vanilla extract
- 1/2 cup milk
- 1 cup unsalted butter, softened (for frosting)
- 4 cups powdered sugar
- 1/4 cup heavy cream
- 1 teaspoon vanilla extract (for frosting)
- Food coloring (optional, for customization)
- Edible glitter
- Fresh flowers or fruit
- Chocolate shavings
- Custom cake toppers (names, dates, etc.)
Directions
Preheat your oven to 350°F (175°C). Grease and flour your bento cake pans or line them with parchment paper.
In a large mixing bowl, sift together the flour, baking powder, baking soda, and salt.
In another bowl, beat the softened butter and granulated sugar together until light and fluffy, about 3-4 minutes.
Incorporate the eggs one at a time, mixing well after each addition, and stir in the vanilla extract.
Gradually add the dry ingredients to the butter mixture, alternating with the milk, until just combined.
Pour the batter into the prepared pans and bake for 25-30 minutes, or until a toothpick inserted in the center comes out clean.
Let the cakes cool in the pans for 10 minutes, then transfer to a wire rack to cool completely.
In a mixing bowl, beat the softened butter until creamy. Gradually add the powdered sugar, then mix in the heavy cream and vanilla extract.
Once the cakes are completely cool, level the tops if necessary. Place one layer on a serving platter and spread an even layer of frosting on top. Add the second layer and frost the top and sides.
Decorate with edible glitter, fresh flowers, or custom cake toppers.
Nutrition Facts
Recipe Reviews
- ★★★★★
Excellent recipe!
Leave a Reply
Your email address will not be published. Required fields are marked *

Excellent recipe!