
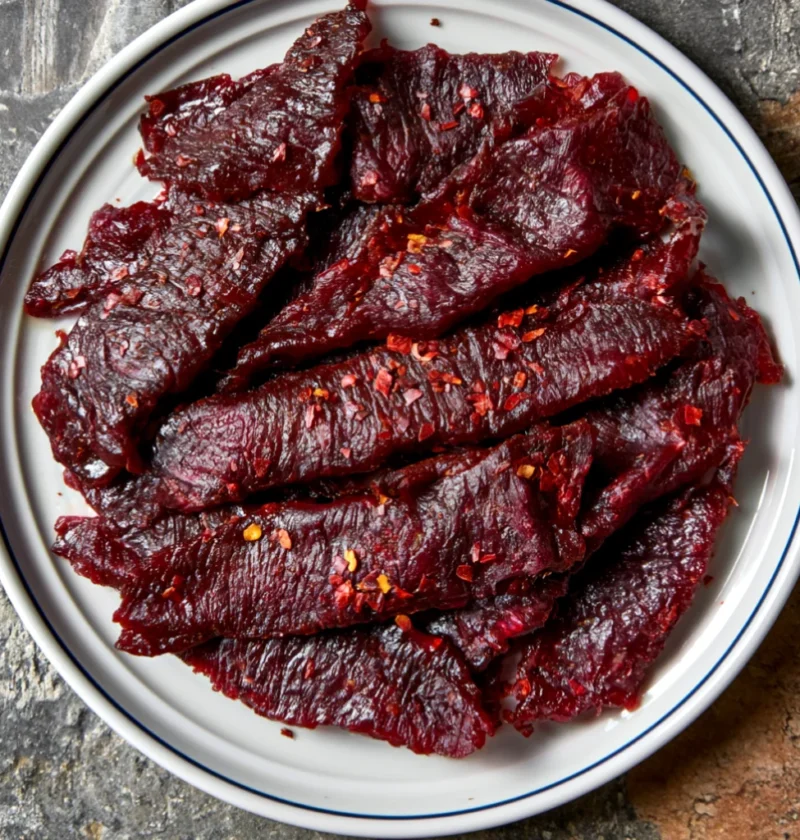
Beef jerky is more than just a snack; it’s a culinary tradition that dates back centuries, with origins rooted in various cultures around the globe. The art of preserving meat was essential for survival, especially in earlier times when refrigeration was not an option. This protein-rich treat has evolved into a favorite snack for many, thanks to its portability and rich flavors. Today, homemade beef jerky not only offers a healthier alternative to store-bought options but also allows you to experiment with flavors that suit your palate. Whether you prefer a sweet, spicy, or smoky flavor, learning how to make beef jerky can be a rewarding endeavor. In this article, we will guide you through a straightforward beef jerky recipe, highlighting all the essential homemade jerky ingredients and techniques that will help you create something truly special. This process is not only fun but also provides a great opportunity to bond with family and friends as you share your culinary creations.
Ingredients
- Beef: 2 pounds of flank steak, sirloin, or top round (best cuts of beef for jerky). Choosing the right cut is crucial; lean cuts with minimal fat will yield the best texture and flavor. Opt for grass-fed beef if possible, as it often has a richer taste and is healthier.
- Marinade:
- 1/2 cup soy sauce
- 1/4 cup Worcestershire sauce
- 2 tablespoons brown sugar
- 1 tablespoon black pepper
- 1 tablespoon onion powder
- 1 tablespoon garlic powder
- 1 teaspoon smoked paprika
- Optional: 1 teaspoon red pepper flakes for a spicy beef jerky flavor, giving it an extra kick that many enjoy. This can be adjusted based on your heat preference.
Note: For gluten-free options, substitute soy sauce with tamari or coconut aminos to ensure everyone can enjoy this snack. Additionally, consider using low-sodium soy sauce for a healthier jerky variation without compromising flavor. You can learn more about this topic and discover the historical significance of jerky-making. Using high-quality, fresh ingredients will significantly enhance the overall flavor of your homemade jerky.
Steps / Instructions
- Prepare the beef: Trim excess fat from the beef carefully and slice it into thin strips (about 1/4 inch thick), cutting against the grain for tenderness. This step is essential as it affects the final texture of your jerky. If the beef is slightly frozen, it will be easier to slice evenly.
- Make the marinade: In a bowl, combine soy sauce, Worcestershire sauce, brown sugar, black pepper, onion powder, garlic powder, and smoked paprika. If you like a kick, add red pepper flakes to enhance the flavor profile. Stir until the sugar is dissolved to ensure a harmonious blend of flavors.
- Marinate the beef: Place the beef strips in a large resealable plastic bag or shallow dish. Pour the marinade over the beef, ensuring all pieces are coated thoroughly. Seal the bag or cover the dish and refrigerate for 6 to 24 hours. (Longer marination intensifies flavor, allowing the spices to infuse into the meat.) Remember to massage the bag occasionally to ensure even distribution of the marinade.
- Preheat the dehydrator or oven: If using a dehydrator, set it to 155°F (68°C). For an oven, preheat to 175°F (80°C), ensuring it’s fully heated before placing the beef inside. This step is critical for achieving the proper drying environment.
- Dry the beef: Remove the beef from the marinade and pat it dry with paper towels to remove excess moisture. Arrange the strips in a single layer on the dehydrator trays or a baking sheet lined with parchment paper. Ensure the pieces are not touching for optimal air circulation. This spacing helps the jerky dry evenly and efficiently.
- Dehydrate: If using a dehydrator, dry the beef for 4 to 6 hours, checking for doneness every hour. For the oven, bake for 4 to 6 hours, flipping halfway through to ensure even drying. The jerky is done when it is dry and firm but still flexible, bending without breaking. Keep an eye on the jerky during the last hour to avoid over-drying.
- Cool and store: Remove the jerky from the dehydrator/oven and let it cool completely on a wire rack. Store in an airtight container or vacuum-sealed bags to maintain freshness. Properly stored, beef jerky can last for 1 to 2 months at room temperature, or up to 1 year in the freezer, making it a great option for long-term snacking. Labeling your storage bags with the date can help you keep track of freshness.
Tips & Tricks
- Uniform slices: Use a sharp knife or an electric slicer to ensure even thickness for consistent drying; this is key to achieving the perfect texture throughout. A uniform size helps prevent some pieces from becoming over-dried while others remain chewy.
- Experiment with flavors: Feel free to create your own jerky seasoning blends by adding herbs and spices, such as cumin or coriander, to the marinade for unique flavor twists. You can also try marinating with different liquids like apple cider vinegar or hot sauce for varied taste profiles.
- Storage tips: For longer shelf-life, consider adding oxygen absorbers to your storage bags; this will help keep the jerky fresher for extended periods. Storing in a cool, dark place away from moisture will also help maintain quality.
- Common mistakes: Avoid over-marination, which can make the jerky too salty and less enjoyable. Always dry the meat thoroughly before dehydrating to speed up the process and ensure even drying. It’s also advisable to check for doneness before the minimum time to avoid undesirable texture.
Conclusion
Now that you know how to make beef jerky, you can enjoy a delicious, protein-rich snack that is perfect for camping trips, road trips, or simply as an everyday treat. With the flexibility to customize flavors and adjust the level of spiciness, homemade jerky guarantees satisfaction. So why not give this recipe a try and explore the world of beef jerky? Check out our related guide for more tips and inspiration to elevate your jerky-making skills.
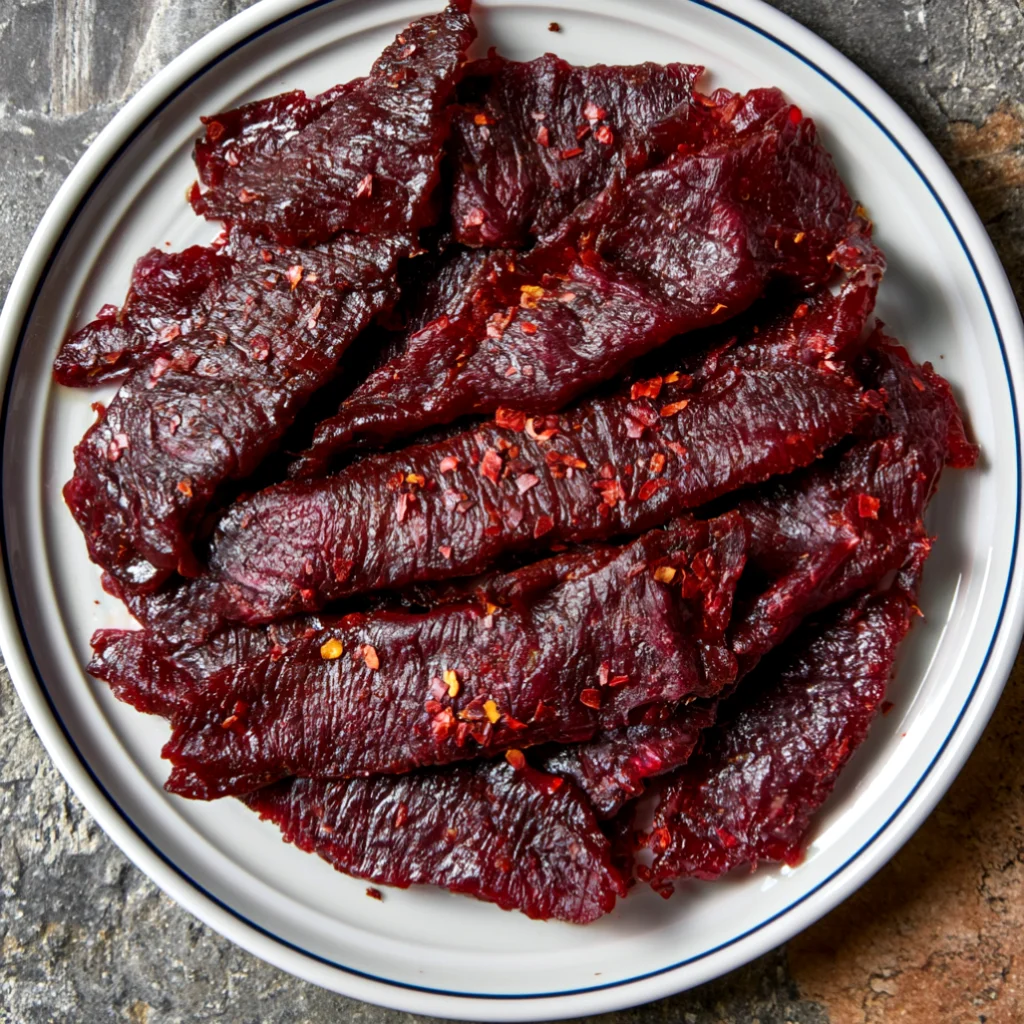
Beef Jerky
Beef jerky is more than just a snack; it's a culinary tradition that dates back centuries, with origins rooted in various cultures around the globe. The art of preserving meat was essential for survival, especially in earlier times when refrigeration was not an option. This protein-rich treat has evolved into a favorite snack for many, thanks to its portability and rich flavors.
Ingredients
- 2 pounds flank steak, sirloin, or top round
- 1/2 cup soy sauce
- 1/4 cup Worcestershire sauce
- 2 tablespoons brown sugar
- 1 tablespoon black pepper
- 1 tablespoon onion powder
- 1 tablespoon garlic powder
- 1 teaspoon smoked paprika
- 1 teaspoon red pepper flakes (optional)
Directions
Trim excess fat from the beef and slice it into thin strips (about 1/4 inch thick), cutting against the grain.
In a bowl, combine soy sauce, Worcestershire sauce, brown sugar, black pepper, onion powder, garlic powder, and smoked paprika. Stir until the sugar is dissolved.
Place the beef strips in a large resealable plastic bag or shallow dish. Pour the marinade over the beef and seal the bag or cover the dish. Refrigerate for 6 to 24 hours.
Preheat the dehydrator to 155°F (68°C) or the oven to 175°F (80°C).
Remove the beef from the marinade and pat it dry. Arrange the strips in a single layer on dehydrator trays or a baking sheet lined with parchment paper.
If using a dehydrator, dry the beef for 4 to 6 hours; for the oven, bake for 4 to 6 hours, flipping halfway through. The jerky is done when dry and firm but still flexible.
Remove the jerky and let it cool completely on a wire rack. Store in an airtight container or vacuum-sealed bags.
Nutrition Facts
Recipe Reviews
- ★★★★★
Excellent recipe!
Leave a Reply
Your email address will not be published. Required fields are marked *










Excellent recipe!