
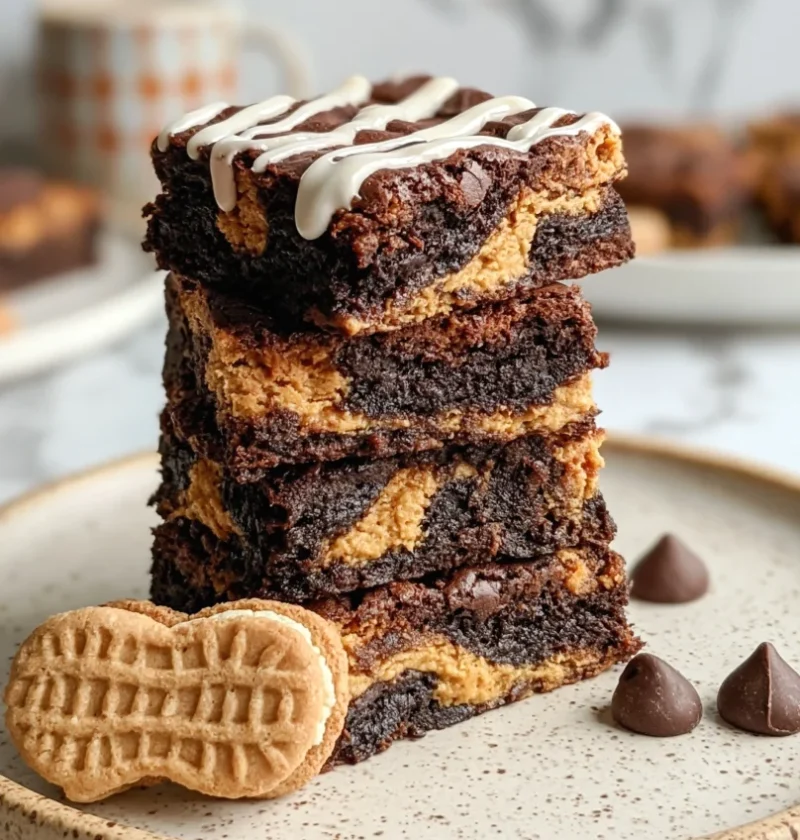
Indulging in the rich and creamy world of peanut butter desserts has never been more satisfying than with these delightful Nutter Butter Bars. Combining the beloved flavors of peanut butter and chocolate, this easy no-bake recipe is a perfect homemade dessert idea for families and sweet treat lovers alike. The buttery cookie crust forms the perfect base, while the creamy filling delights everyone, making these bars an excellent choice for parties or quick snacks. Not only are they delicious, but they also require minimal effort and ingredients, making them the ideal treat for any occasion. These Nutter Butter Bars are not just a dessert; they are a celebration of flavors that evoke nostalgia and happiness.
Ingredients
- For the crust:
- 1 package (16 oz) Nutter Butter cookies, finely crushed for optimal texture
- ½ cup unsalted butter, melted to ensure proper binding of the crust
- For the filling:
- 1 cup creamy peanut butter, preferably natural for a rich flavor
- 1 cup powdered sugar, sifted to prevent lumps
- 1 cup heavy cream, chilled for best whipping results
- 1 tsp vanilla extract, for an added layer of flavor
- For the chocolate topping:
- 1 cup semi-sweet chocolate chips, high-quality for a smooth melt
- 2 tbsp vegetable oil, to achieve a glossy finish
For the best results, use high-quality Nutter Butter cookies and natural peanut butter. If you prefer, you can substitute a gluten-free cookie to make a gluten-free version of these bars. This flexibility allows the recipe to accommodate various dietary preferences. You can learn more about this topic.
Steps / Instructions
- Prepare the crust: In a food processor, crush the Nutter Butter cookies until they resemble fine crumbs, ensuring no large pieces remain. Transfer the crumbs to a mixing bowl for easy access.
- Mix in the butter: Pour the melted butter over the cookie crumbs and stir until evenly combined. The mixture should hold together when pressed; this indicates the right consistency for the crust.
- Form the crust: Press the cookie mixture firmly into the bottom of a greased 9×9-inch baking dish to create an even layer. Use the back of a measuring cup to pack it tightly, ensuring no air pockets remain. Place in the refrigerator to set for about 15 minutes, allowing it to firm up properly.
- Make the filling: In a large mixing bowl, combine the creamy peanut butter, sifted powdered sugar, heavy cream, and vanilla extract. Using an electric mixer, beat on medium speed until smooth and creamy, about 2 minutes. This step is crucial for achieving the light and fluffy texture.
- Spread the filling: Remove the crust from the refrigerator and spread the peanut butter mixture evenly over the crust, smoothing it out with a spatula to ensure a uniform layer.
- Prepare the chocolate topping: In a microwave-safe bowl, combine the chocolate chips and vegetable oil. Microwave in 30-second intervals, stirring in between, until melted and smooth. This method helps to avoid burning the chocolate.
- Drizzle the chocolate: Pour the melted chocolate over the peanut butter filling, spreading it out evenly with a spatula for a glossy finish. This layer adds a beautiful contrast to the creamy filling.
- Chill the bars: Cover the baking dish with plastic wrap and refrigerate for at least 2 hours or until the bars are set firmly, which helps in achieving clean cuts when serving.
- Serve: Once set, cut into squares and serve chilled. Enjoy these Nutter Butter Bars as a decadent treat perfect for family gatherings or parties! They are sure to be a crowd-pleaser!
Tips & Tricks
To achieve the best texture, ensure your heavy cream is chilled before whipping. This will help create a light and airy filling that pairs beautifully with the crust. If you’re in a hurry, you can make these bars a day ahead; they store well in the refrigerator for several days, maintaining their flavor and texture. Additionally, if you want to avoid messy cutting, warm your knife under hot water before slicing the bars. This method will help you achieve clean edges, making for a more attractive presentation. For extra flair, consider garnishing with crushed Nutter Butter cookies on top of the chocolate. Check out our related guide for more tips.
Variations
Feel free to experiment with different types of chocolate, such as dark or white chocolate, for the topping. For a more indulgent experience, add a layer of crushed peanuts or a sprinkle of sea salt on top of the chocolate before it sets. If you’re catering to different dietary needs, consider using a vegan chocolate and substitute the butter and cream with plant-based alternatives. You can also try adding a layer of fruit preserves beneath the peanut butter filling for added flavor complexity.
Serving Suggestions
Serve these bars chilled, perhaps with a glass of cold milk or a scoop of vanilla ice cream for an added treat, enhancing the overall dessert experience. They also pair wonderfully with a warm cup of coffee, making them a perfect afternoon snack or dessert after a family meal. Consider placing them on a decorative plate and drizzling extra chocolate sauce over them for an elegant touch when serving at gatherings.
FAQ
Can I use a different type of cookie for the crust? Yes! Feel free to experiment with other cookie brands or flavors, though Nutter Butter cookies provide a unique taste that complements the peanut butter well. You could try using Oreos or chocolate wafers for a different flavor profile.
How do I store leftover bars? Store any leftovers in an airtight container in the refrigerator for up to a week. Allow them to come to room temperature for a few minutes before serving for the best flavor and texture experience. Additionally, ensure they are separated with parchment paper to prevent sticking.
Conclusion
These Nutter Butter Bars are an indulgent and easy dessert option for any gathering, sure to please both kids and adults alike. With their creamy peanut butter filling and a chocolate topping, they embody the perfect balance of flavors and textures. Enjoy making these bars as a sweet treat for your family or friends, and don’t forget to share your creations and experiences in the comments below!
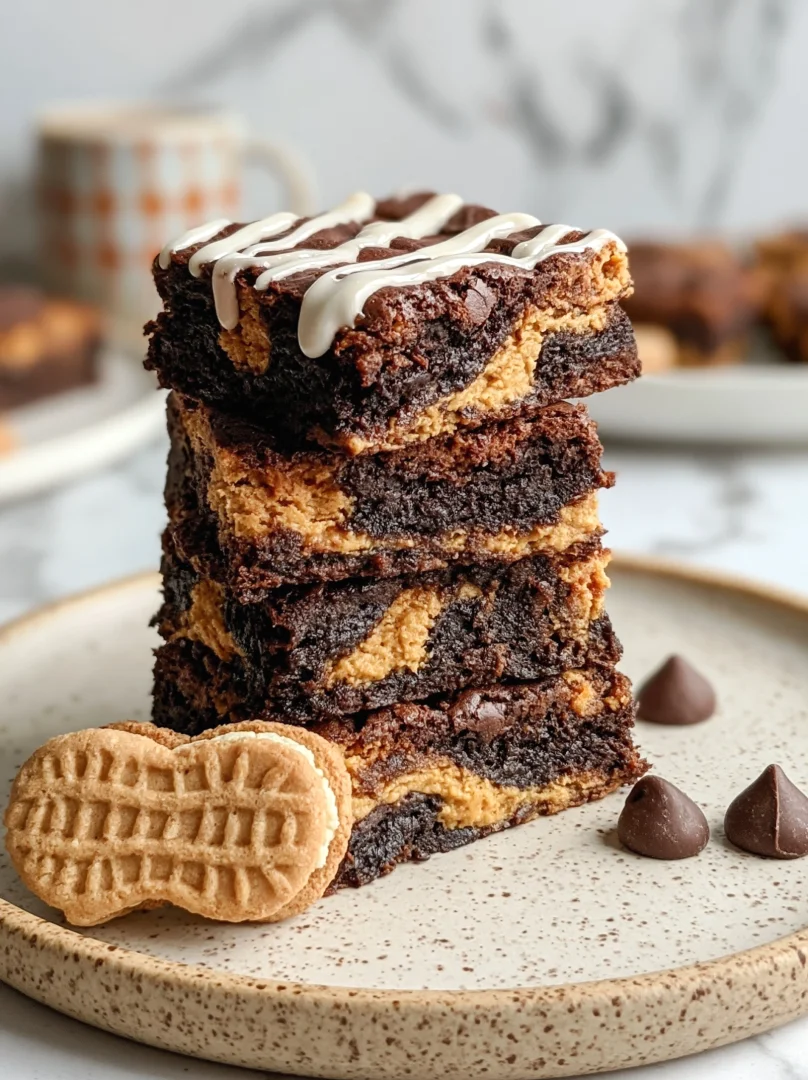
Nutter Butter Bars
Indulging in the rich and creamy world of peanut butter desserts has never been more satisfying than with these delightful Nutter Butter Bars. Combining the beloved flavors of peanut butter and chocolate, this easy no-bake recipe is a perfect homemade dessert idea for families and sweet treat lovers alike.
Ingredients
- 1 package (16 oz) Nutter Butter cookies, finely crushed
- ½ cup unsalted butter, melted
- 1 cup creamy peanut butter
- 1 cup powdered sugar, sifted
- 1 cup heavy cream, chilled
- 1 tsp vanilla extract
- 1 cup semi-sweet chocolate chips
- 2 tbsp vegetable oil
Directions
Prepare the crust: In a food processor, crush the Nutter Butter cookies until they resemble fine crumbs. Transfer the crumbs to a mixing bowl.
Mix in the butter: Pour the melted butter over the cookie crumbs and stir until evenly combined. The mixture should hold together when pressed.
Form the crust: Press the cookie mixture firmly into the bottom of a greased 9x9-inch baking dish. Place in the refrigerator to set for about 15 minutes.
Make the filling: In a mixing bowl, combine peanut butter, sifted powdered sugar, heavy cream, and vanilla extract. Beat on medium speed until smooth and creamy.
Spread the filling: Remove the crust from the refrigerator and spread the peanut butter mixture evenly over the crust.
Prepare the chocolate topping: In a microwave-safe bowl, combine chocolate chips and vegetable oil. Microwave in 30-second intervals, stirring until melted and smooth.
Drizzle the chocolate: Pour the melted chocolate over the peanut butter filling, spreading it out evenly.
Chill the bars: Cover with plastic wrap and refrigerate for at least 2 hours or until set.
Serve: Once set, cut into squares and serve chilled.
Recipe Reviews
- ★★★★★
Excellent recipe!
Leave a Reply
Your email address will not be published. Required fields are marked *



Excellent recipe!