
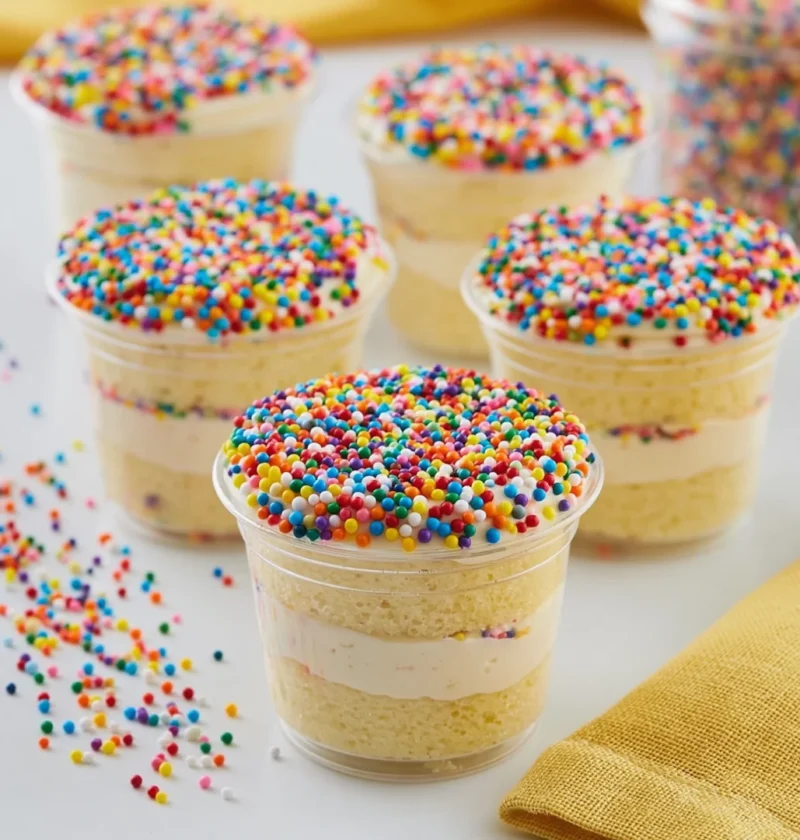
Dot Cakes are not just desserts; they are delightful creations that bring a splash of color and creativity to any occasion. Perfectly suited for birthday parties, children’s treats, or festive gatherings, these cakes are characterized by their vibrant polka-dot patterns that mesmerize both young and old. Originating from playful baking traditions around the world, Dot Cakes have become a favorite among cake decorators looking to add a fun twist to their desserts. With a multitude of flavor combinations and decorating techniques, these cakes are as versatile as they are visually appealing. Whether you’re a seasoned baker or a beginner, this recipe will guide you through the steps to create your own stunning Dot Cake, making your dessert table stand out. The joy of baking these cakes is not just in the delicious end product but in the entertainment of creating them—each step is an opportunity for creativity and fun! As you experiment with different colors and designs, you may find new favorites and discover unique ways to personalize your Dot Cakes for any special occasion.
Ingredients
For the Cake
- 2 cups all-purpose flour
- 1 ½ cups granulated sugar
- 1 cup unsalted butter, softened
- 4 large eggs
- 1 cup milk
- 2 ½ teaspoons baking powder
- 1 teaspoon vanilla extract
- ½ teaspoon salt
- Food coloring of choice (red, blue, yellow, green) – consider using gel food coloring for more vibrant hues, as they provide more intense colors without altering the batter’s consistency.
For the Frosting
- 1 cup unsalted butter, softened
- 4-5 cups powdered sugar
- 2-3 tablespoons milk
- 1 teaspoon vanilla extract
- Optional: Cream cheese for a tangy flavor which can balance the sweetness of the cake, adding a delicious complexity.
Steps / Instructions
- Preheat your oven to 350°F (175°C). Grease and flour two round cake pans to prevent sticking, ensuring an even release once baked. This is essential for maintaining the integrity of your polka-dot pattern.
- In a large mixing bowl, cream together the softened butter and granulated sugar until light and fluffy, about 3-5 minutes. This step incorporates air into the batter, which is key to a light texture. You can tell it’s ready when the mixture looks pale and fluffy.
- Add the eggs one at a time, mixing well after each addition. Then, stir in the vanilla extract, which adds a depth of flavor. Ensure each egg is fully integrated before adding the next one for the best results.
- In a separate bowl, whisk together the flour, baking powder, and salt. Whisking aerates the flour and helps distribute the baking powder evenly, which is vital for uniform rising.
- Gradually add the dry ingredients to the wet mixture, alternating with the milk. Mix until just combined; avoid overmixing to ensure a light and fluffy cake. The batter should be smooth but may still have a few small lumps.
- Divide the batter into smaller bowls, depending on how many colors you want for your polka dots. Add food coloring to each bowl, mixing until you achieve your desired shades. Keep in mind that colors may bake slightly lighter than they appear raw, so adjust accordingly to achieve the vibrant look you want.
- Using a spoon or piping bag, drop spoonfuls of each colored batter into the prepared cake pans, creating a polka-dot pattern. This method allows for creativity in the arrangement of colors, so feel free to experiment with placement for a more whimsical design.
- Bake in the preheated oven for 25-30 minutes or until a toothpick inserted into the center comes out clean. The edges should be golden brown, and the top should spring back when lightly pressed. Watch closely towards the end of the baking time to prevent over-baking.
- Allow the cakes to cool in the pans for 10 minutes, then turn them out onto wire racks to cool completely. A complete cooling is crucial before frosting to prevent melting. Patience here will result in a beautifully frosted cake.
- While the cakes cool, prepare the frosting. In a large bowl, beat the softened butter until creamy, then gradually add the powdered sugar, mixing until smooth. Add milk and vanilla extract to reach your desired frosting consistency, which should be spreadable but not too runny; it should hold its shape well.
- Once the cakes are completely cooled, frost the top of one layer and place the second layer on top. Use the remaining frosting to cover the entire cake, creating a smooth and even finish. For a more polished look, use an offset spatula to create a clean edge.
- For a finishing touch, consider adding fondant decorations or colorful sprinkles for a festive look. This not only enhances the visual appeal but can also add texture and flavor, making your Dot Cake even more enticing.
Tips & Tricks
To ensure your Dot Cakes are a success, keep these tips in mind: You can learn more about this topic.
- Use high-quality ingredients for the best flavor, especially the butter and vanilla extract. Fresh, high-quality butter will enhance the richness of the cake, making a noticeable difference in taste.
- If you’re looking for gluten-free options, substitute the all-purpose flour with a gluten-free flour blend. Ensure the blend includes a binding agent like xanthan gum for best results, as this will help mimic the texture provided by gluten.
- For an easy cake recipe for beginners, start with just a couple of colors for your dots rather than overwhelming yourself with too many. This allows you to focus on technique without stress, leading to a more successful baking experience.
- Store any leftover cake in an airtight container at room temperature for up to 3 days, or refrigerate for up to a week. To preserve moisture, consider placing a slice of bread in the container, as this will help keep the cake fresh.
- To make ahead, bake and frost the cakes one day in advance. Keep them refrigerated and bring them to room temperature before serving for the best flavor and texture, allowing the frosting to soften slightly for easier slicing.
- Common mistakes include overmixing the batter, which can lead to a dense cake. Mix until just combined to keep it light and fluffy. Also, ensure your oven temperature is accurate, as baking times can vary; investing in an oven thermometer can be very helpful.
Conclusion
We hope this recipe for Dot Cakes inspires you to create a colorful and fun dessert that will be the highlight of your next gathering. With its delightful appearance and delicious flavor, this cake will surely impress your guests. Feel free to share your creations and any tips you discover along the way! Check out our related guide for more tips.
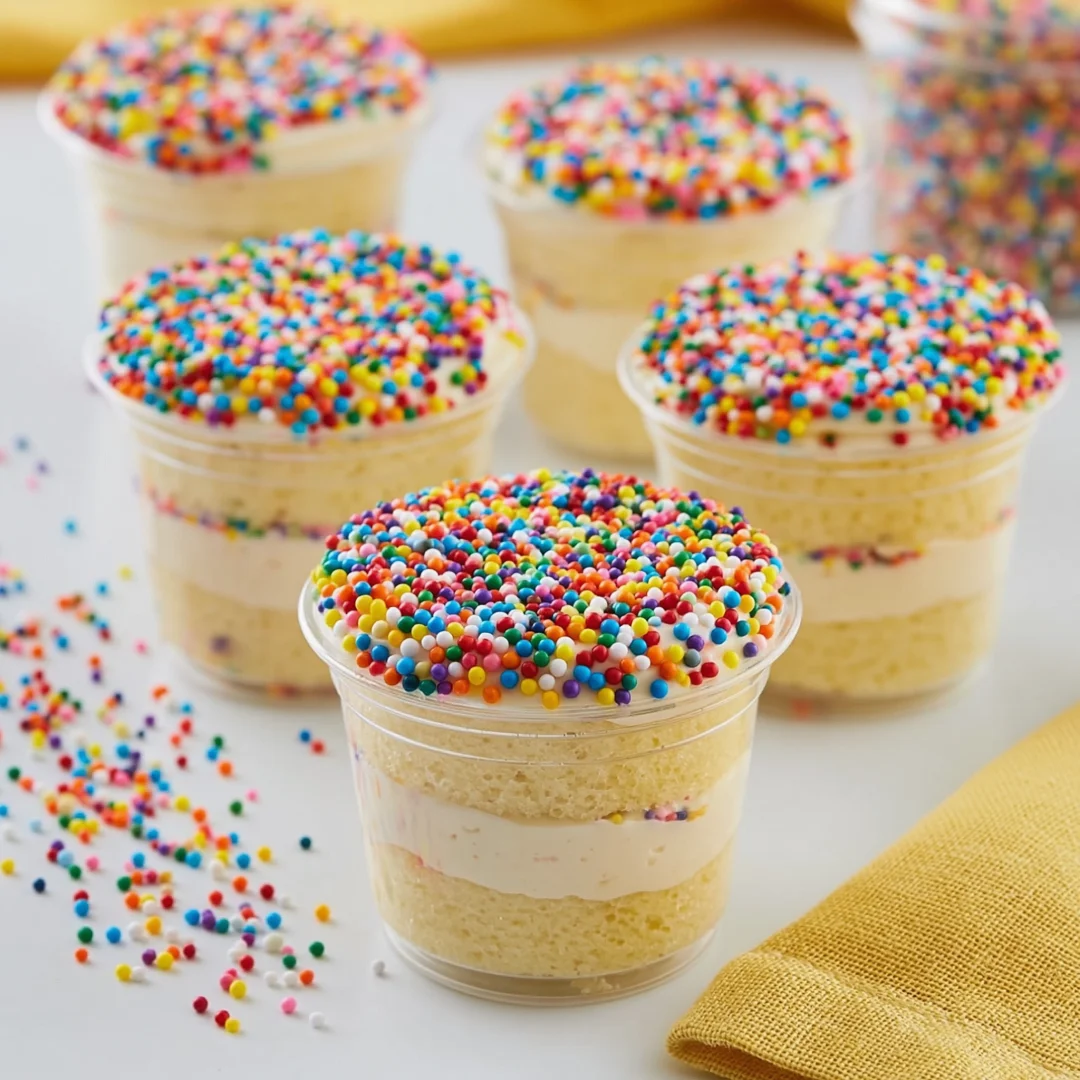
Dot Cakes
Dot Cakes are not just desserts; they are delightful creations that bring a splash of color and creativity to any occasion. Perfectly suited for birthday parties, children's treats, or festive gatherings, these cakes are characterized by their vibrant polka-dot patterns that mesmerize both young and old.
Ingredients
- 2 cups all-purpose flour
- 1 ½ cups granulated sugar
- 1 cup unsalted butter, softened
- 4 large eggs
- 1 cup milk
- 2 ½ teaspoons baking powder
- 1 teaspoon vanilla extract
- ½ teaspoon salt
- Food coloring of choice (red, blue, yellow, green)
- 1 cup unsalted butter, softened (for frosting)
- 4-5 cups powdered sugar (for frosting)
- 2-3 tablespoons milk (for frosting)
- 1 teaspoon vanilla extract (for frosting)
- Optional: Cream cheese for frosting
Directions
Preheat your oven to 350°F (175°C). Grease and flour two round cake pans.
In a large mixing bowl, cream together the softened butter and granulated sugar until light and fluffy, about 3-5 minutes.
Add the eggs one at a time, mixing well after each addition. Stir in the vanilla extract.
In a separate bowl, whisk together the flour, baking powder, and salt.
Gradually add the dry ingredients to the wet mixture, alternating with the milk. Mix until just combined.
Divide the batter into smaller bowls for coloring. Add food coloring to each bowl and mix well.
Drop spoonfuls of each colored batter into the prepared cake pans to create a polka-dot pattern.
Bake in the preheated oven for 25-30 minutes or until a toothpick inserted comes out clean.
Allow the cakes to cool in the pans for 10 minutes, then turn them out onto wire racks to cool completely.
Prepare the frosting by beating the softened butter until creamy, then gradually adding in the powdered sugar, milk, and vanilla extract.
Once the cakes are completely cooled, frost the top of one layer and place the second layer on top. Frost the entire cake with the remaining frosting.
Add fondant decorations or colorful sprinkles for a festive look.
Recipe Reviews
- ★★★★★
Excellent recipe!
Leave a Reply
Your email address will not be published. Required fields are marked *



Excellent recipe!