
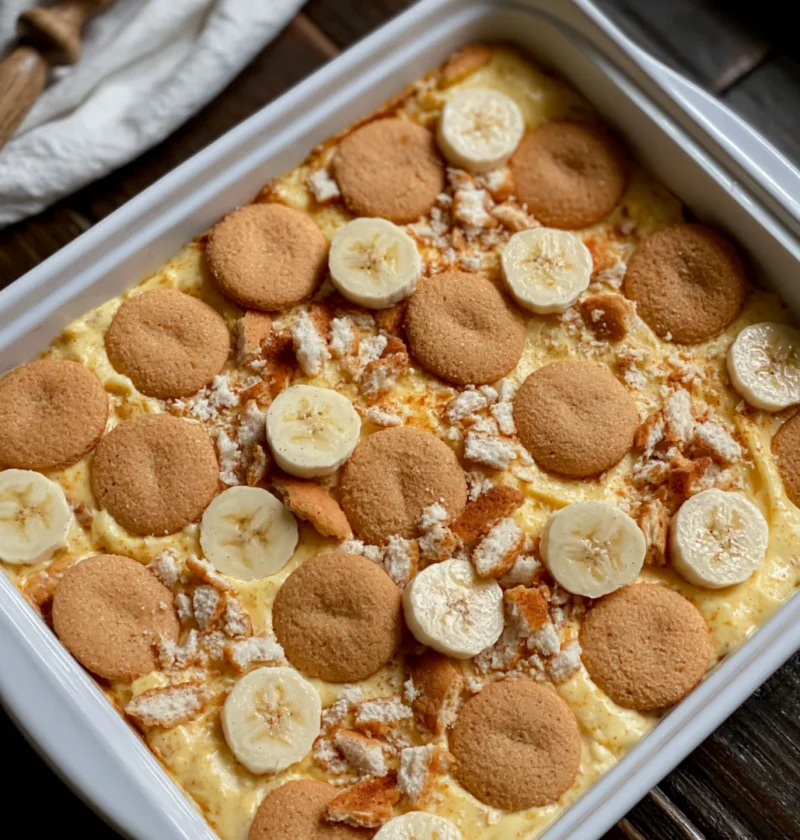
Old Fashioned Banana Pudding is a beloved dessert that brings to mind the warmth of family gatherings and the sweet nostalgia of childhood. This classic banana pudding recipe showcases layers of creamy homemade pudding, ripe bananas, and crunchy vanilla wafers, creating a delightful combination of textures and flavors that is irresistible. The Southern banana pudding tradition has been cherished for generations, often served at potlucks and celebrations, making it a staple in the dessert repertoire. This no-bake banana pudding is not only easy to make but also provides an inviting and comforting dessert option that everyone will love. Whether you are serving it at a family reunion or enjoying it on a quiet evening, this dessert is sure to evoke feelings of happiness and nostalgia. Let’s dive into this delicious banana dessert that is sure to become a favorite at your table!
Ingredients
- For the Pudding:
- 1 cup granulated sugar
- 1/4 cup all-purpose flour
- 1/4 teaspoon salt
- 2 3/4 cups whole milk
- 3 large egg yolks, beaten
- 1 teaspoon vanilla extract
- 1 tablespoon butter, preferably unsalted for a creamy finish
- For Assembly:
- 4 to 5 ripe bananas, sliced into approximately 1/4 inch thick rounds, to ensure a balanced texture between the fruit and pudding
- 1 box (about 12 ounces) vanilla wafers, the traditional option for a nostalgic crunch that pairs perfectly with the creamy pudding
- 1 cup heavy whipping cream, chilled for the fluffiest texture that forms a perfect topping
- 2 tablespoons powdered sugar (for whipped cream), adjust to taste for sweetness, allowing you to customize the flavor
- Extra vanilla wafers for garnish (optional), adding a decorative touch for presentation that makes the dish visually appealing
For the best results, use fresh, ripe bananas for pudding to ensure maximum flavor and a creamy texture. Overripe bananas can also work well, as they offer a deeper sweetness that enhances the overall taste. You can learn more about this topic and its history.
Steps / Instructions
- In a medium saucepan, whisk together the sugar, flour, and salt until well combined, ensuring no lumps remain in the dry mixture for a smooth pudding base.
- Gradually whisk in the milk, ensuring there are no lumps. Cook over medium heat, stirring constantly until the mixture thickens and begins to bubble (about 10 minutes). Look for a creamy consistency that coats the back of a spoon—this is a crucial step in achieving the desired texture.
- Once thickened, remove from heat. In a small bowl, temper the beaten egg yolks by adding a small amount of the hot mixture into the yolks, whisking continuously. This step prevents the eggs from cooking prematurely. Then, slowly whisk the egg mixture back into the saucepan to incorporate it smoothly.
- Return the saucepan to low heat and cook for an additional 2-3 minutes, stirring constantly until smooth and velvety, ensuring that no curdles form during this final cooking stage.
- Remove from heat and stir in the vanilla extract and butter until fully incorporated and melted. Transfer the pudding to a bowl, cover with plastic wrap (pressing it directly onto the surface to prevent a skin from forming), and let it cool to room temperature, allowing the flavors to develop and blend beautifully.
- Once the pudding is cool, whip the heavy cream with powdered sugar until stiff peaks form, which should take about 2-3 minutes on medium-high speed. Fold half of the whipped cream into the pudding gently until just combined, ensuring to maintain the airy texture for a light final result.
- In a serving dish, layer the vanilla wafers, followed by sliced bananas, and half of the pudding mixture. Repeat the layers, finishing with the remaining pudding on top, creating an enticing visual that enhances the flavor with each spoonful.
- Spread the remaining whipped cream over the top and garnish with extra vanilla wafers or banana slices, if desired. This adds an extra crunch and visual appeal to your Old Fashioned Banana Pudding.
- Refrigerate for at least 4 hours, preferably overnight, to allow the flavors to meld and the wafers to soften, making the pudding even more delicious and perfectly set.
Tips & Tricks
For perfect Old Fashioned Banana Pudding, consider the following tips: Check out our related guide for more insights on achieving the ideal texture and flavor that will impress your guests.
- Storage: Keep the pudding in an airtight container in the refrigerator for up to 3 days. It’s best enjoyed fresh, but can last a little longer if stored properly, making it convenient for meal prep.
- Make-Ahead: Prepare the pudding and layer it a day in advance for a stress-free dessert at your gathering, allowing the flavors to develop even further and deepening the overall taste experience.
- Avoid Browning Bananas: If you’re concerned about the bananas browning, toss them lightly in lemon juice before layering them in the pudding. This not only prevents discoloration but can also enhance the flavor, keeping your presentation beautiful.
- Check Consistency: If your pudding seems too thick, whisk in a little more milk until you achieve your desired smooth pudding texture, ensuring it remains creamy and easy to serve without being clumpy.
- Common Mistakes: Stir constantly when cooking the pudding to prevent burning and ensure a creamy, smooth texture. Pay close attention to the heat level to avoid curdling the egg yolks, which can ruin your pudding.
Conclusion
Old Fashioned Banana Pudding is not just a dessert; it’s a heartfelt tradition that brings people together. By following these simple steps, you’ll create a creamy banana dessert that will impress family and friends at any gathering. Enjoy the comforting flavors of this classic treat, and let the sweet banana treats melt in your mouth, leaving you with fond memories of each delicious bite!
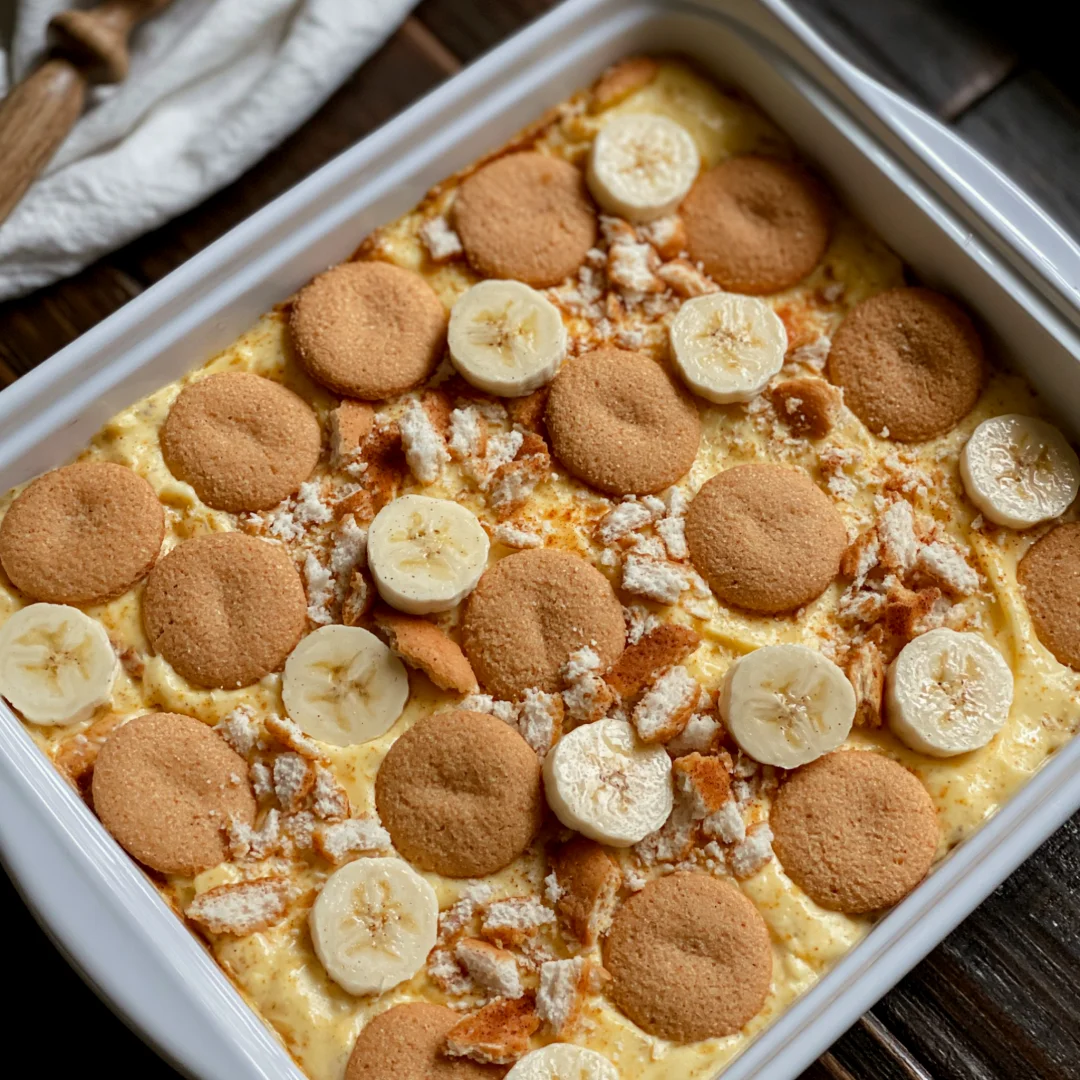
Old Fashioned Banana Pudding
Old Fashioned Banana Pudding is a beloved dessert that brings to mind the warmth of family gatherings and the sweet nostalgia of childhood. This classic banana pudding recipe showcases layers of creamy homemade pudding, ripe bananas, and crunchy vanilla wafers, creating a delightful combination of textures and flavors that is irresistible.
Ingredients
- 1 cup granulated sugar
- 1/4 cup all-purpose flour
- 1/4 teaspoon salt
- 2 3/4 cups whole milk
- 3 large egg yolks, beaten
- 1 teaspoon vanilla extract
- 1 tablespoon butter, preferably unsalted
- 4 to 5 ripe bananas, sliced
- 1 box (about 12 ounces) vanilla wafers
- 1 cup heavy whipping cream, chilled
- 2 tablespoons powdered sugar
- Extra vanilla wafers for garnish (optional)
Directions
In a medium saucepan, whisk together the sugar, flour, and salt until well combined.
Gradually whisk in the milk, and cook over medium heat, stirring constantly until the mixture thickens and begins to bubble (about 10 minutes).
Once thickened, remove from heat. In a small bowl, temper the beaten egg yolks by adding a small amount of the hot mixture into the yolks, whisking continuously. Then, slowly whisk the egg mixture back into the saucepan.
Return the saucepan to low heat and cook for an additional 2-3 minutes, stirring constantly until smooth.
Remove from heat and stir in the vanilla extract and butter. Transfer the pudding to a bowl, cover with plastic wrap, and let it cool to room temperature.
Once the pudding is cool, whip the heavy cream with powdered sugar until stiff peaks form. Fold half of the whipped cream into the pudding gently.
In a serving dish, layer the vanilla wafers, followed by sliced bananas, and half of the pudding mixture. Repeat the layers, finishing with the remaining pudding on top.
Spread the remaining whipped cream over the top and garnish with extra vanilla wafers or banana slices, if desired.
Refrigerate for at least 4 hours, preferably overnight, to allow the flavors to meld.
Recipe Reviews
- ★★★★★
Excellent recipe!
Leave a Reply
Your email address will not be published. Required fields are marked *




Excellent recipe!